The RV finally made it to San Antonio (though the auto-leveler is not working), but it is time to start turning that bunkhouse into a studio. I must admit that it was scary pulling apart a brand new unit!!
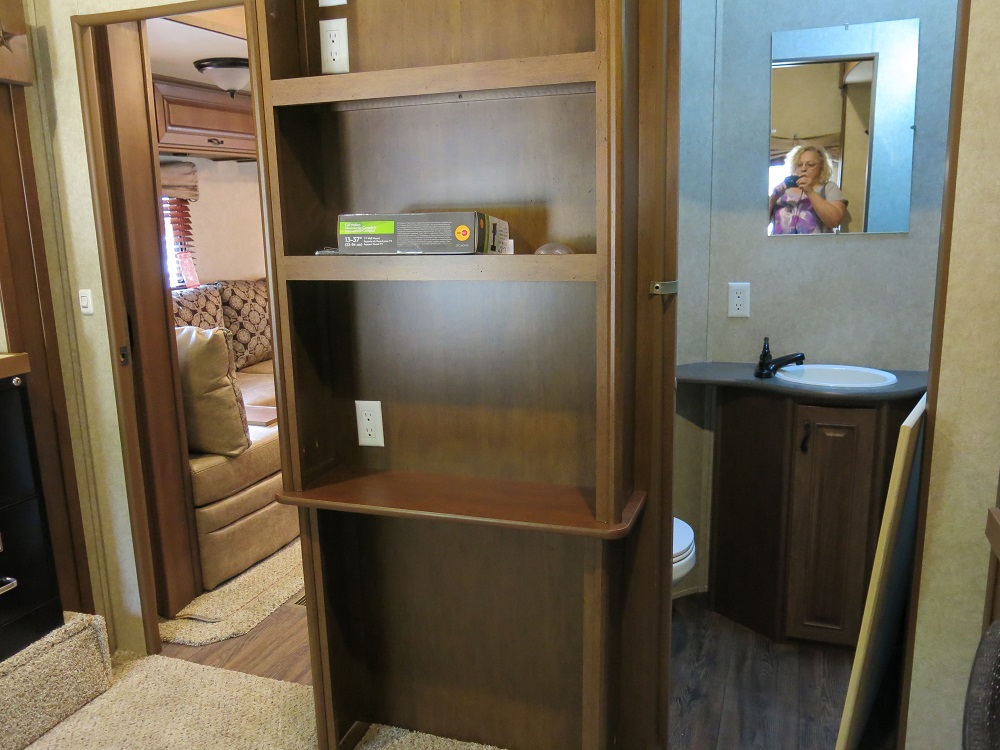
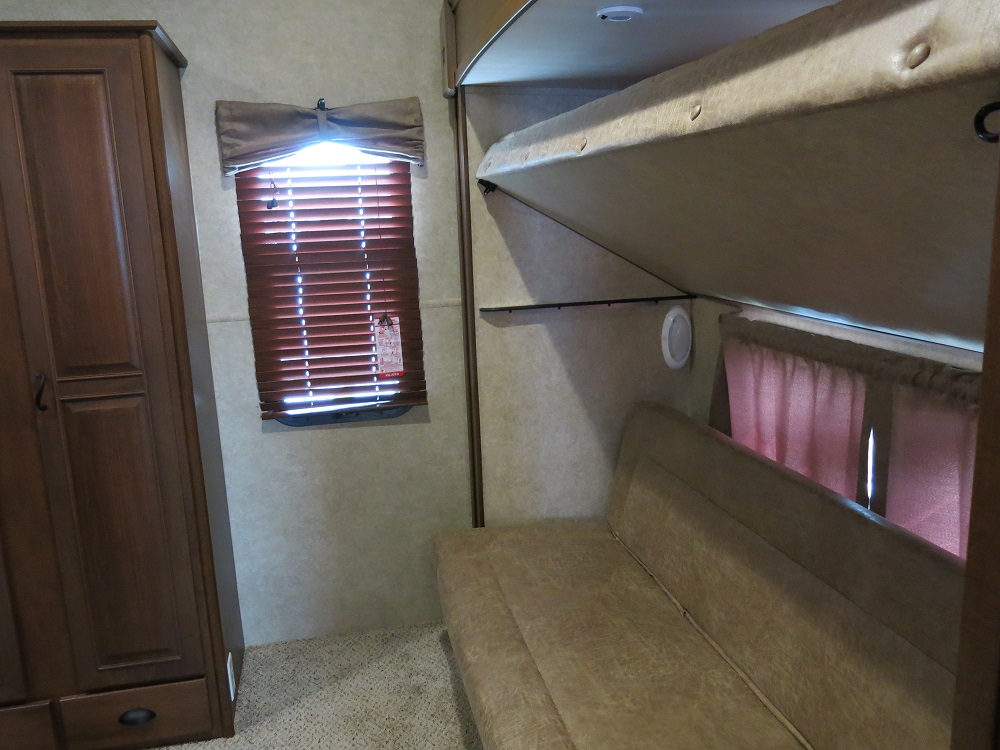
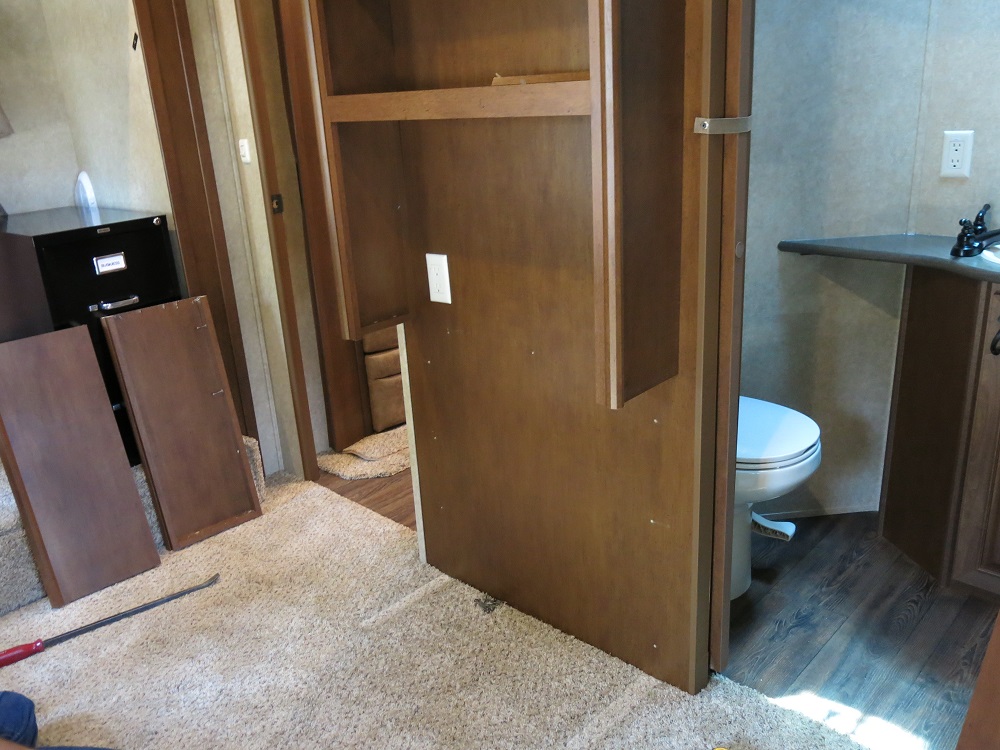
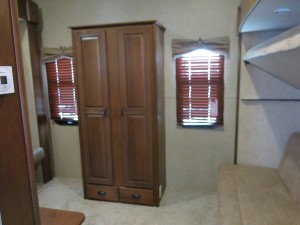
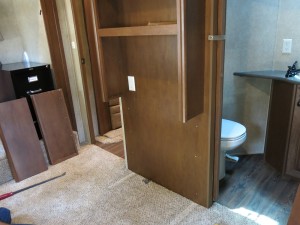
First up: remove the closet. A closet seems like a good idea to have in a craft room, but I am going to put DVD shelving here instead and it is much better fit (you’ll agree later). It seems like a simple job but look closely at the bottom – see that white square? It’s an electrical outlet, so we have to be very careful. Also, there are a LOT of screws holding this thing to the wall!!
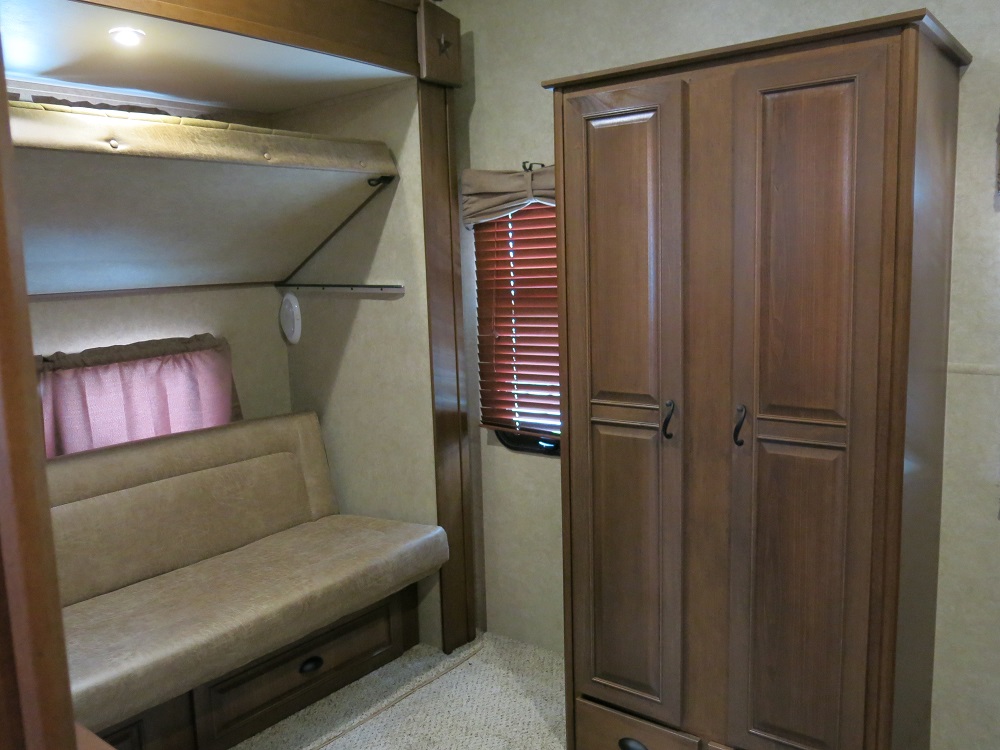
Before:
After:

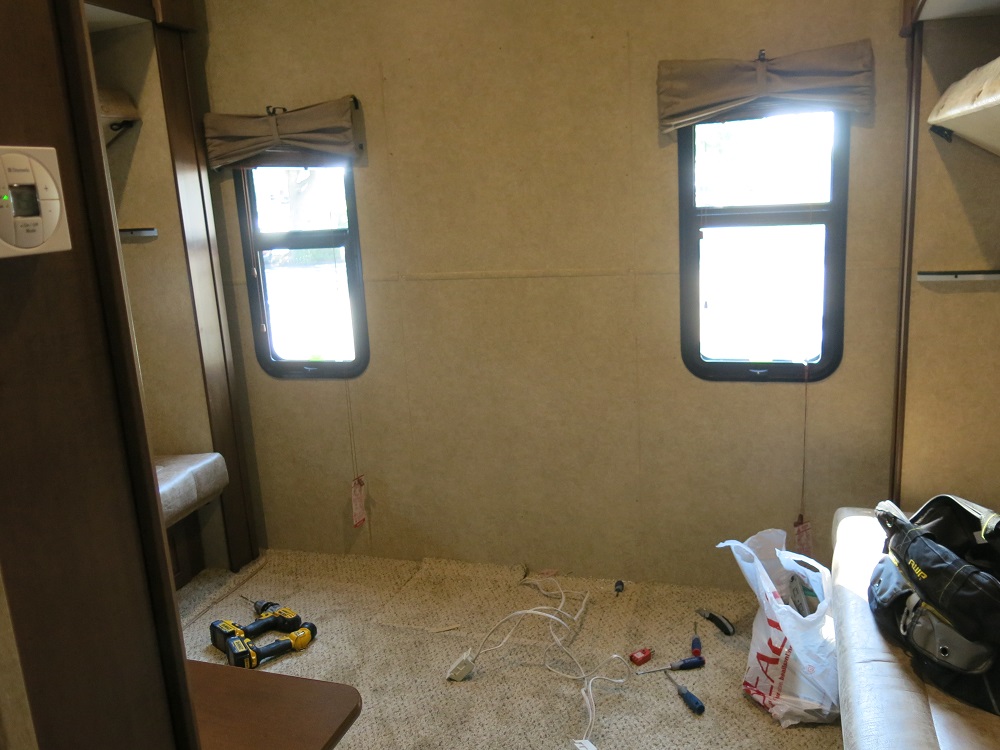
Next, let’s remove the bunks and couches. First, the right side. This is where my office desk will be. There was a problem right away. I thought that the we would have a nice, clean area to work with. I even verified it with the factory rep, but apparently, we had a communication issue. Under the couch, there is a box that holds the mechanism for the slideout. I got that familiar “what have I done” feeling in the pit of my stomach, but gave it some thought, discussed with Mike, and I think we have a solution. You’ll see.
Before:

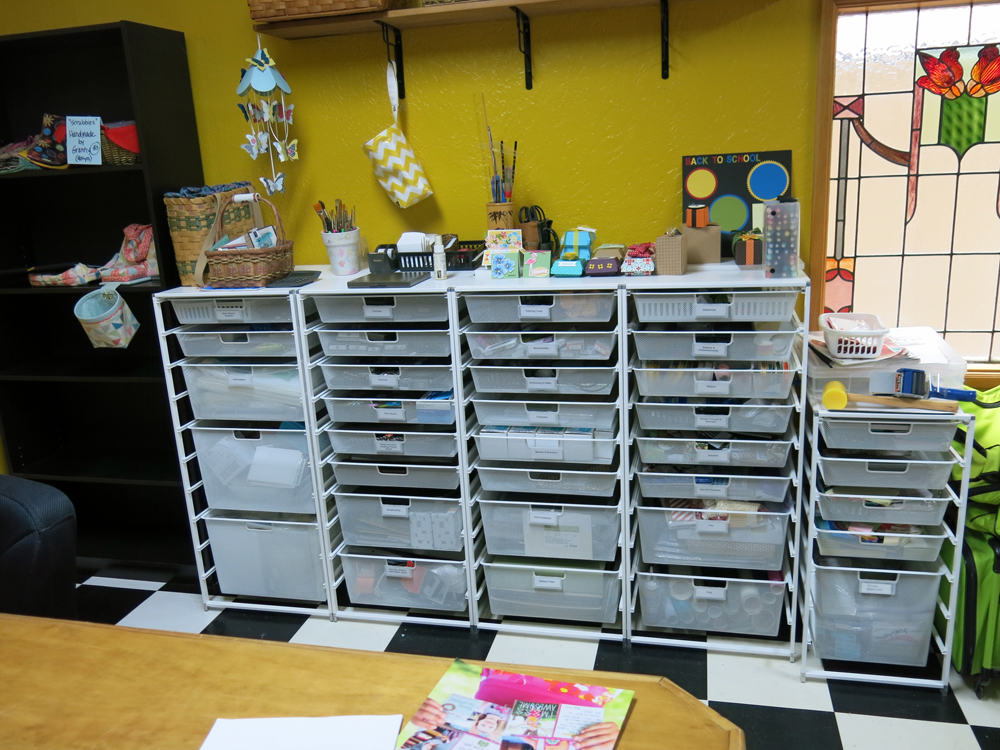
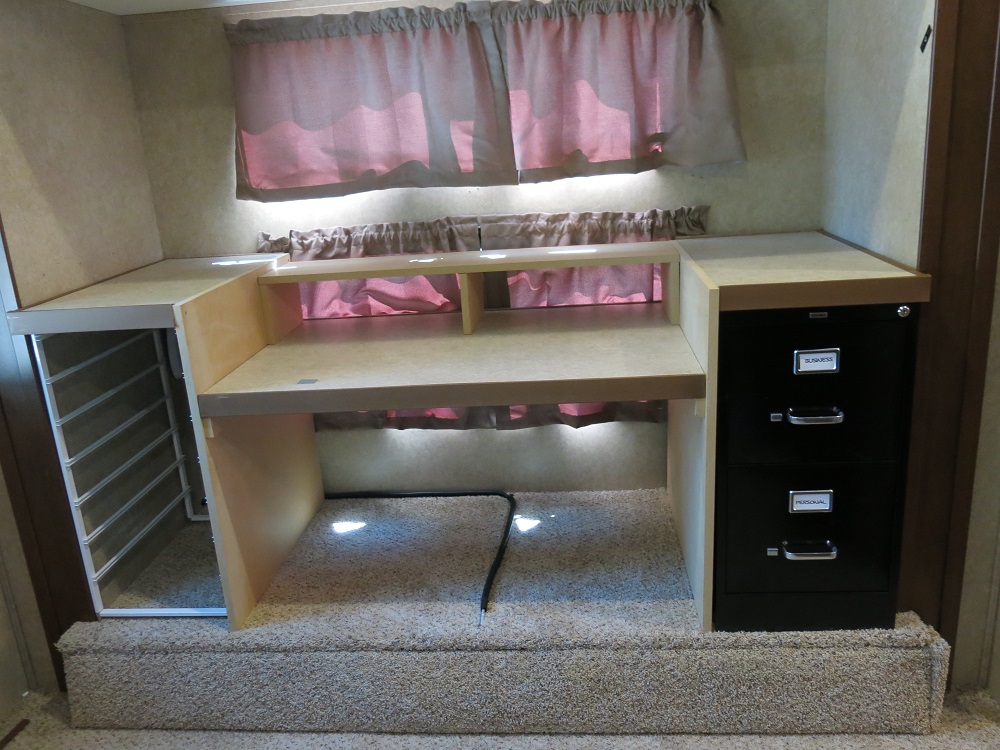
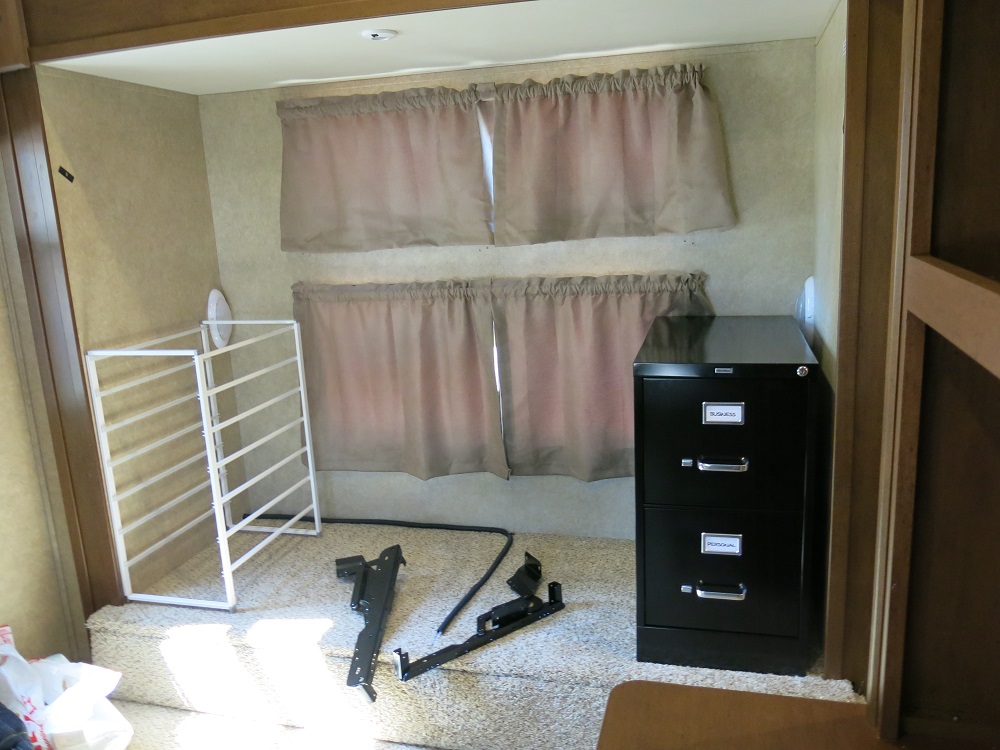
After. The Elfa shelves on the left and the file cabinet were supposed to go *under* the desk, but instead, they will go *next* to the desk. I hope this works!

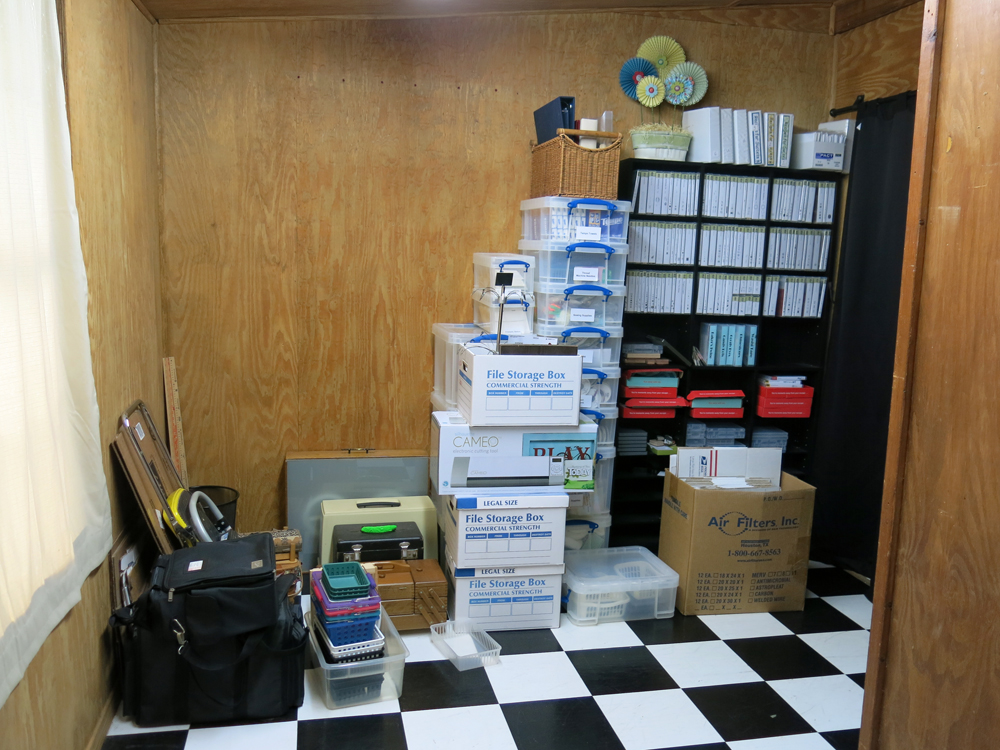
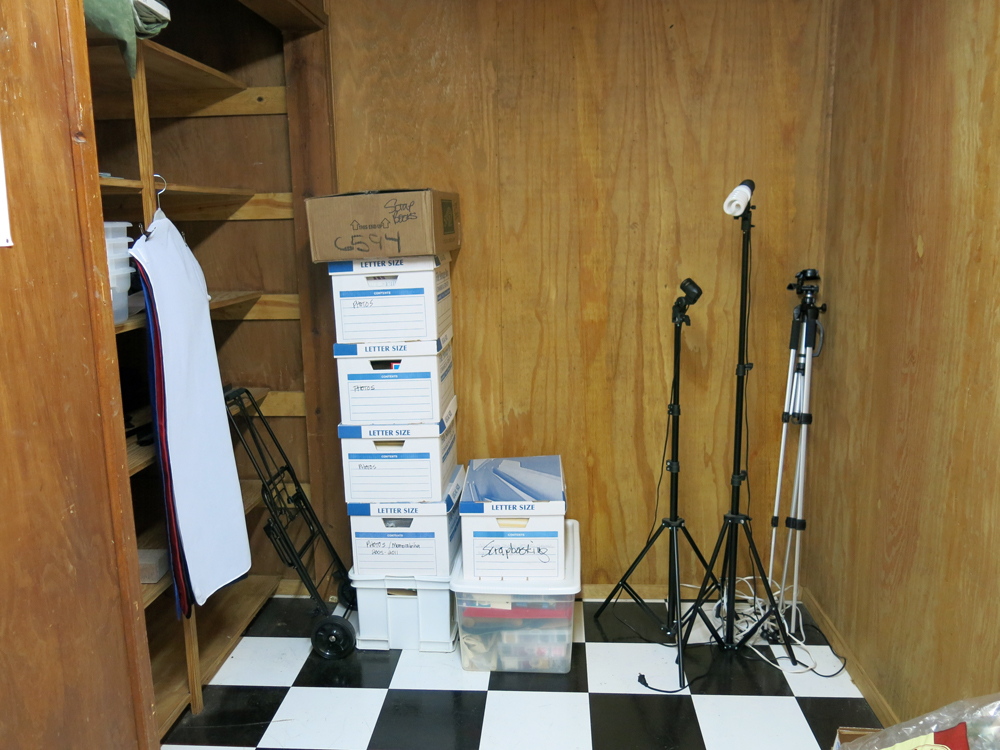
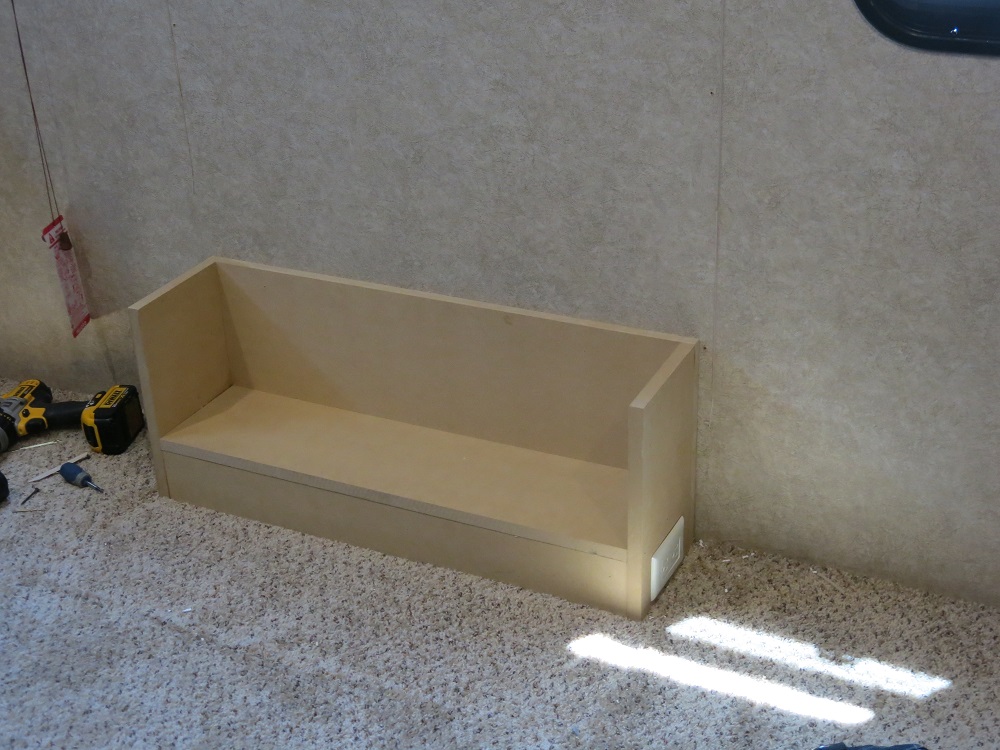
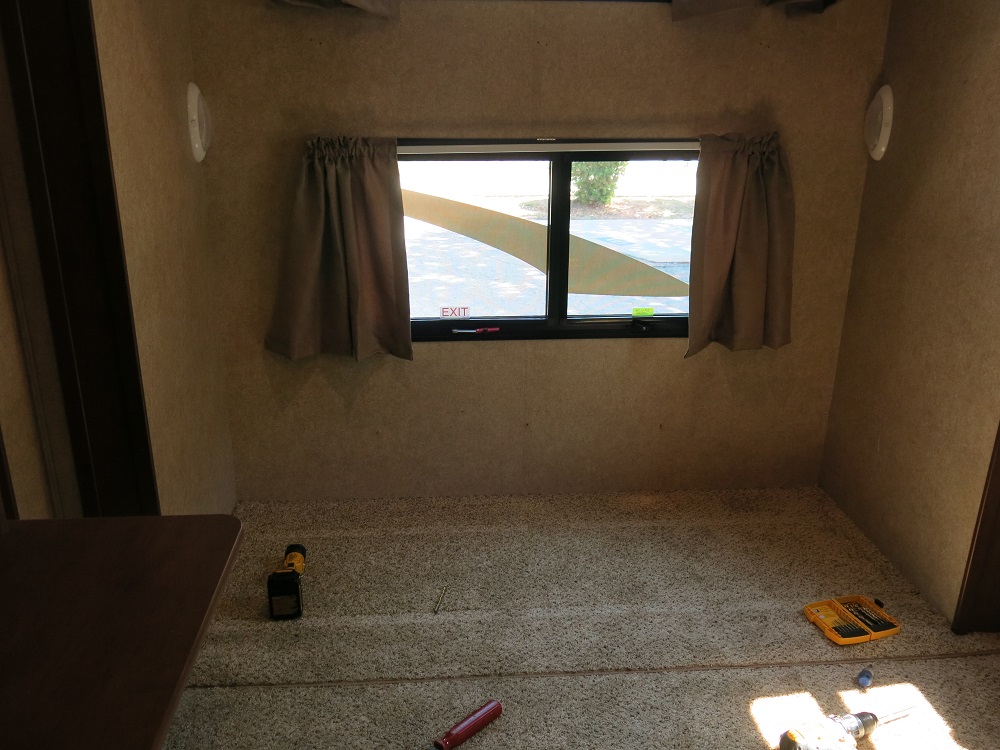
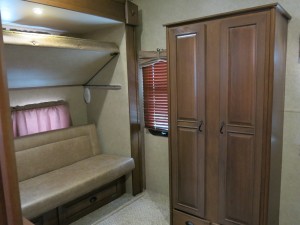
OK, onto the Crafting Space – the other slide-out. There are drawers under this couch, so I think we are going to be ok here. Except for a ton of screws and tight fit, it all came out just fine.
Before:
After:

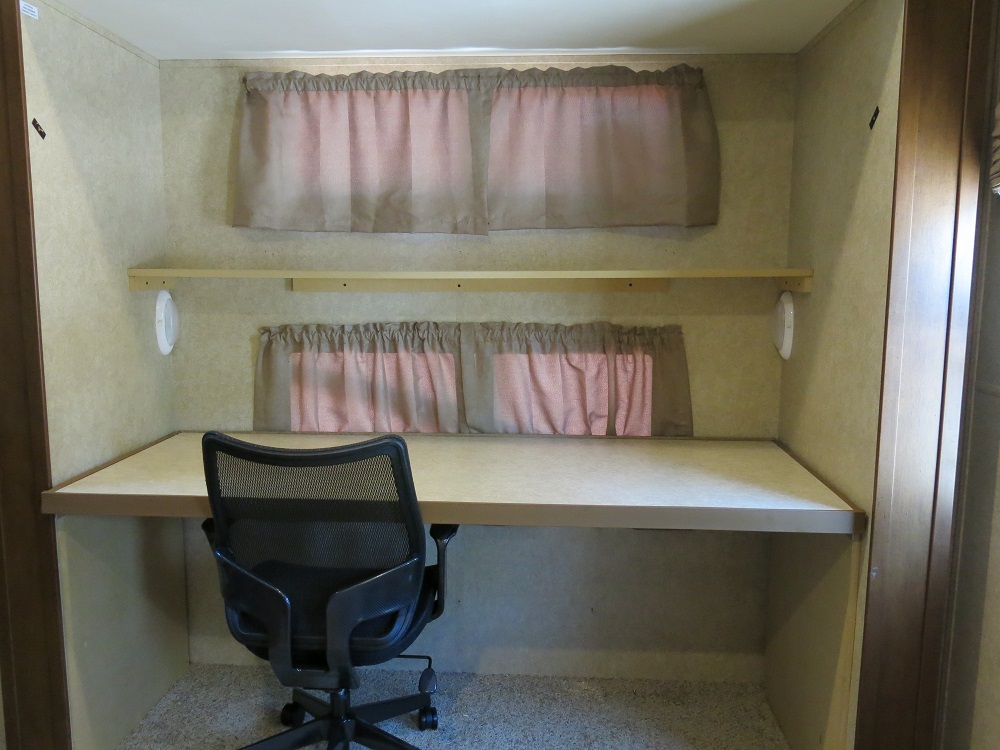
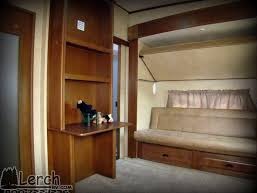
And the final project – the desk. My original plan was to remove it altogether, but we learned early on that wouldn’t work. There are outlets, bracing for a TV, and a thermostat in and on this desk. Instead of removing, we are going to cut it down, changing it from a desk to a shelf.
Before. I don’t think I ever took a picture of the desk before, so I grabbed this one off the internet – thank you, Merch!
After. We are going to cut the bottom sides down 3″ and remove about 10″ from the desk.
After we did the demolition, we loaded everything into Mike’s van and headed to his house to do some cutting.
This is what is planned:
- When we removed the bunks, we realized that we could use them for the tables. They are finished, appear to be sturdy enough, and will save some bucks. So, tables on both sides in the slide-outs. Each will have a file cabinet and an Elfa drawer system.
- The desk will be turned into a shelf and the TV will be installed.
- The DVD shelving will be put together and placed where the closet was. We’ll build a platform to put the outlets in and hide the wires.
After the demo, Mike and I went to his house to drop off the stuff we took out of the unit and to do some cutting.
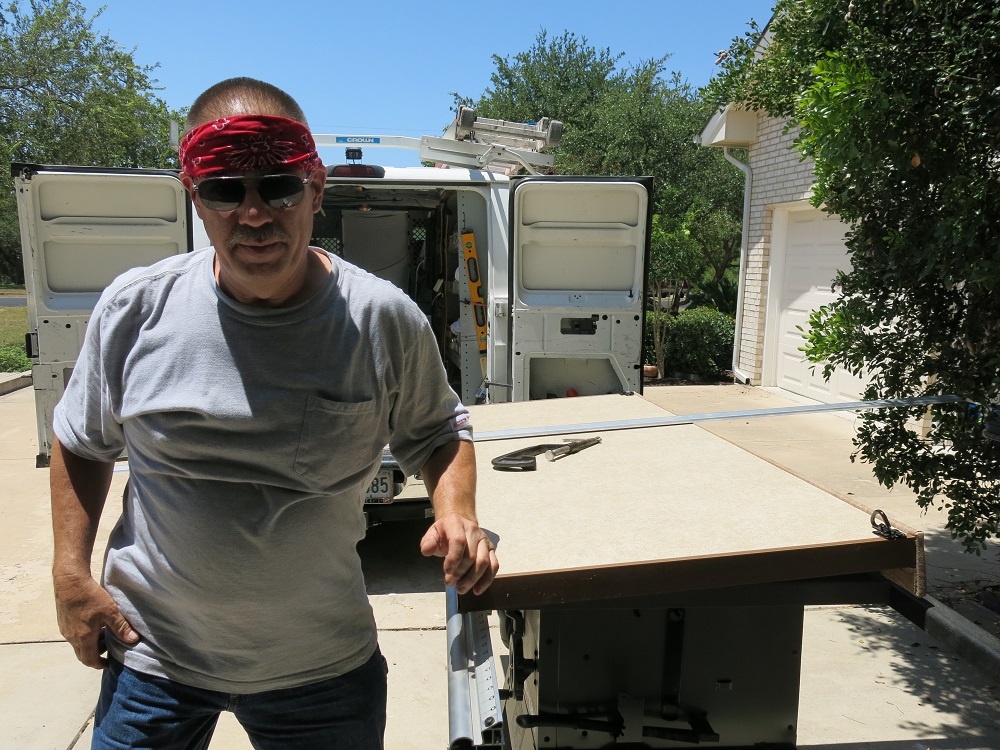
Meet Mike, my friend and handyman:

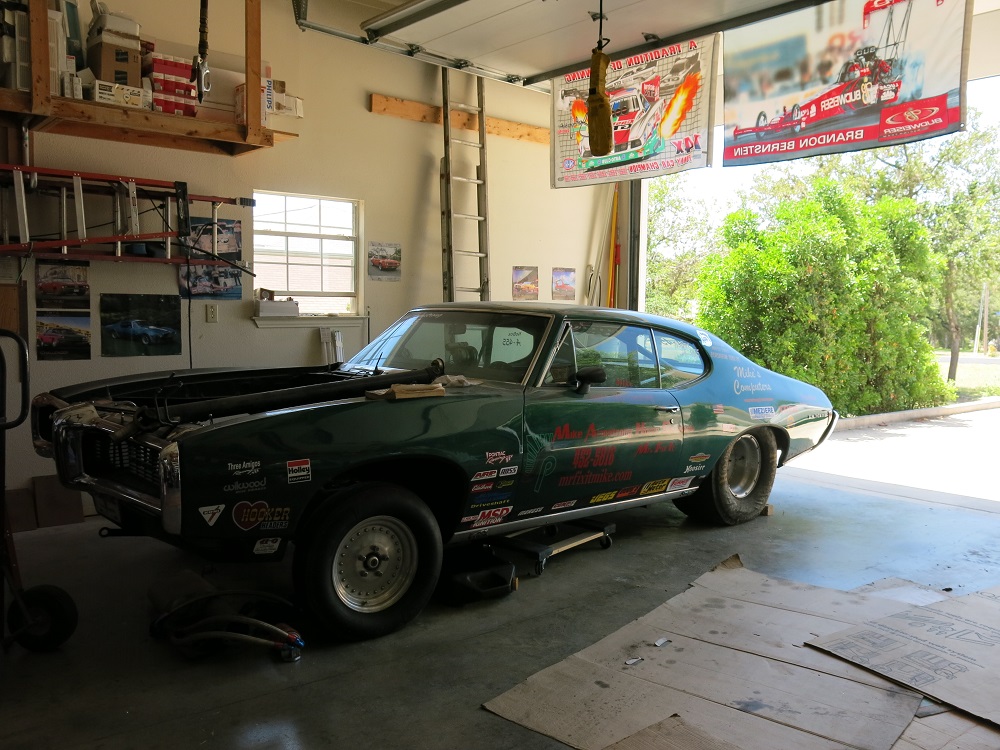
and his race car:

Cutting….
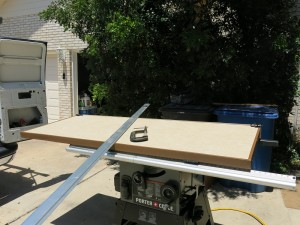
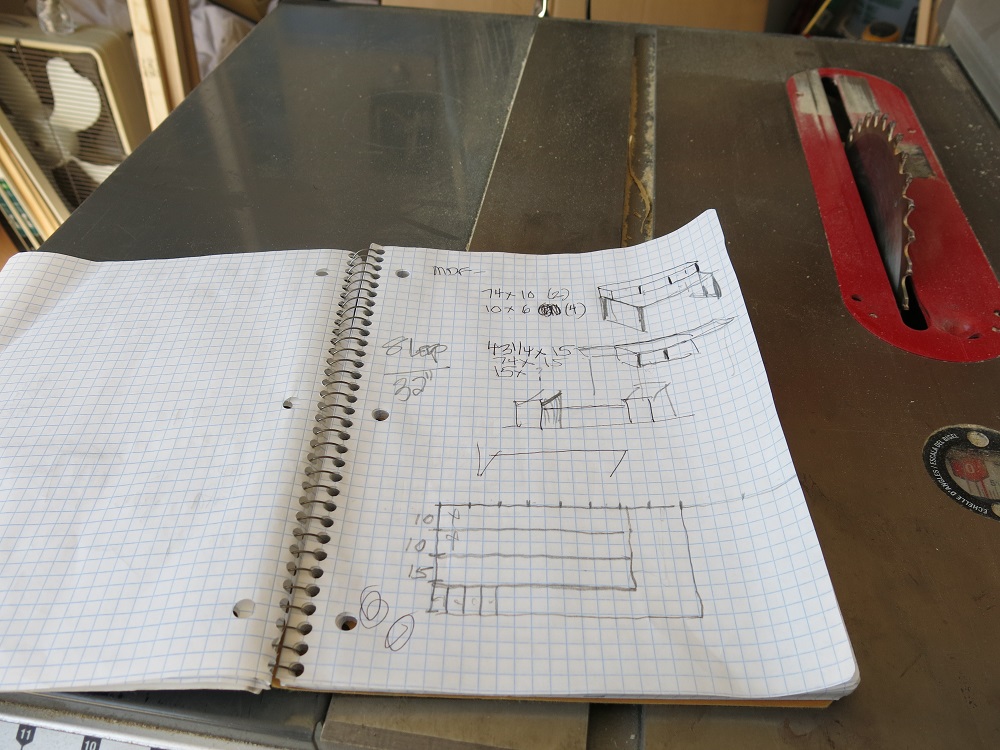
and fine design:

After that, we went to Lowe’s and got 3 sheets of MDF and a TV bracket. FYI, MDF is a good material to use because it looks fairly good, can be painted, or not, and is always straight. But the sheets are HEAVY! After loading the MDF into the van, we decided that we were exhausted and would call it a day.
Be sure to check back here tomorrow for some progress shots!!